
 Deutsch
 Tiếng Việt
 日本語
日本語 한국어
한국어 ไทย
ไทย Português
 العربية
 Français
 Español
 Italiano
 Nederlands
 Svenska
 Norsk
Norsk Dansk
Dansk Polski
 Русский
 Türkçe
 Bahasa Indonesia
 Bahasa Melayu
How to Install a Car Amplifier: Easy Step-by-Step Guide
Why Install a Car Amplifier?
Installing a car amplifier can transform your audio experience by delivering cleaner, more powerful sound. Factory car stereos often lack the power to drive high-quality speakers or subwoofers effectively. A dedicated amplifier ensures your music sounds dynamic, with improved clarity and bass response. Whether you're upgrading your system or starting from scratch, learning how to install a car amplifier is a valuable skill.
Amplifiers also allow for better control over your audio setup. They provide the flexibility to fine-tune gain, crossover settings, and equalization to match your preferences. If you're serious about sound quality, this upgrade is a must. The process may seem daunting, but with the right tools and guidance, it’s manageable for most DIY enthusiasts.
Tools and Materials You’ll Need
Before you begin, gather the necessary tools and materials to ensure a smooth installation. Having everything on hand will save time and prevent frustration. Here’s a checklist of what you’ll need:
- Car amplifier – Choose one that matches your system’s power requirements.
- Wiring kit – Includes power wire, ground wire, RCA cables, and speaker wire.
- Fuse holder and fuse – Protects your amplifier from power surges.
- Wire strippers and crimpers – For preparing and securing connections.
- Screwdrivers and wrenches – To secure the amplifier and wiring.
- Multimeter – Helps verify connections and voltage.
- Zip ties and electrical tape – For organizing and securing wires.
- Panel removal tools – To safely access your car’s interior without damage.
If you’re unsure about which amplifier to choose, consider factors like power output, number of channels, and compatibility with your speakers. For those seeking premium options, brands like Alchimist offer high-end solutions designed for audiophiles. Their amplifiers, crafted in Waiblingen, Germany, are known for precision engineering and durability.
Step 1: Disconnect the Battery
Safety is the first priority when learning how to install a car amplifier. Start by disconnecting the negative terminal of your car’s battery to prevent electrical shorts or damage. This step is crucial to avoid accidental sparks or harm to your vehicle’s electrical system.
Use a wrench to loosen the terminal clamp and carefully remove the cable. Set it aside where it won’t accidentally reconnect. This simple step protects both you and your car’s electronics during the installation process.
Step 2: Run the Power Wire
Running the power wire from the battery to the amplifier is one of the most critical steps. Begin by locating a suitable path for the wire, typically along the car’s existing wiring harness. Avoid areas with sharp edges or moving parts that could damage the wire over time.
Drill a small hole in the firewall to pass the power wire into the cabin. Use a grommet to protect the wire from chafing. Connect the power wire to the battery’s positive terminal, ensuring you install an inline fuse near the battery for safety. The fuse should match the amplifier’s recommended rating to prevent overheating or fire hazards.
Route the wire under the carpet or along the door sills to keep it hidden and secure. Use zip ties to fasten it to existing wiring or the car’s frame. This organization prevents loose wires from interfering with other components.
Step 3: Ground the Amplifier Properly
A solid ground connection is essential for optimal amplifier performance. Poor grounding can lead to noise, distortion, or even damage to your equipment. Choose a clean, bare metal surface near the amplifier’s mounting location for the ground wire.
Scrape away any paint or rust from the metal surface to ensure a strong connection. Attach the ground wire using a ring terminal and secure it with a bolt or screw. Tighten the connection firmly to prevent vibrations from loosening it over time.
If you’re unsure about the best grounding spot, consult your car’s manual or seek advice from a professional. A well-grounded amplifier will deliver consistent power and reduce the risk of electrical issues.
Step 4: Connect the RCA and Remote Turn-On Wires
The RCA cables transmit the audio signal from your head unit to the amplifier. Route these cables along the opposite side of the car from the power wire to minimize interference. This separation helps prevent noise or static from affecting your sound quality.
Connect the RCA cables to the appropriate outputs on your head unit and the corresponding inputs on the amplifier. If your head unit lacks RCA outputs, you may need an adapter or a line output converter (LOC).
The remote turn-on wire signals the amplifier to power on when the head unit is activated. Connect this wire to the remote turn-on terminal on your head unit, usually labeled "REM" or "ANT." This ensures your amplifier only draws power when the stereo is in use, conserving your car’s battery.
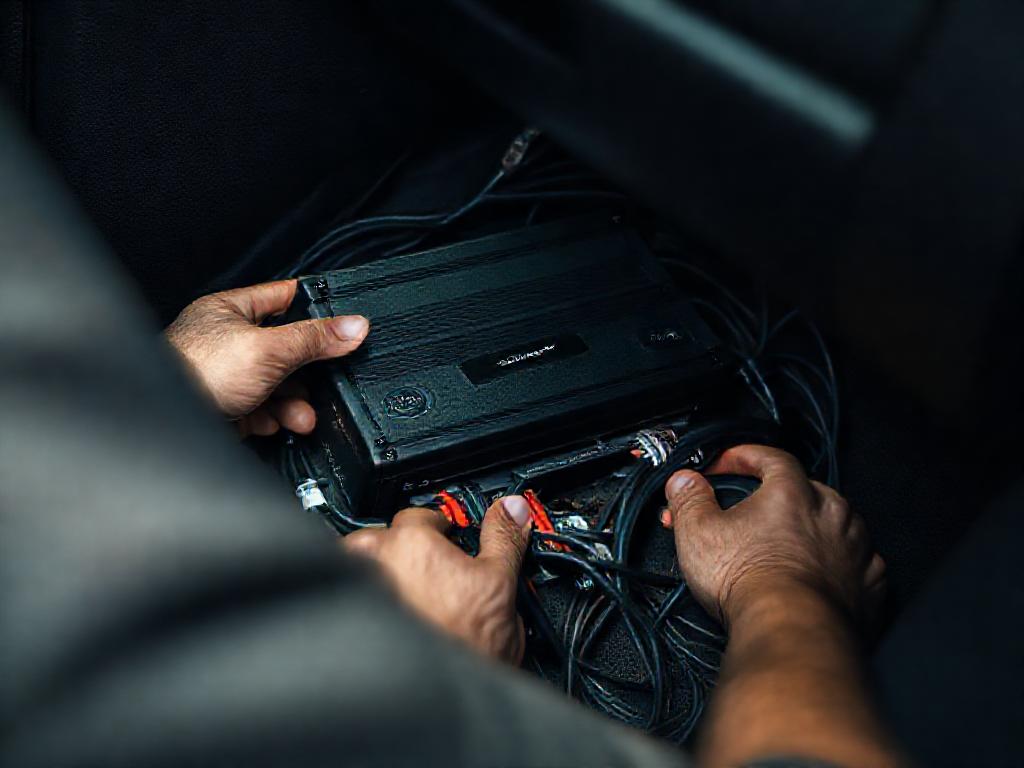
Step 5: Secure the Amplifier and Test the System
Mount the amplifier in a stable, ventilated location to prevent overheating. Common spots include under a seat, in the trunk, or on a custom subwoofer box. Use screws or mounting brackets to secure it firmly, ensuring it won’t shift while driving.
Before reconnecting the battery, double-check all connections for tightness and proper routing. Once everything is secure, reconnect the battery’s negative terminal. Turn on your car’s stereo and test the amplifier by playing music at a moderate volume.
Listen for any distortion, static, or imbalance in the sound. If you encounter issues, revisit your connections or consult a professional for troubleshooting. A successful installation should deliver clear, powerful audio without interference.
Final Tips and Recommendations
Installing a car amplifier is a rewarding project that enhances your driving experience. To ensure long-term performance, periodically check your connections and clean any dust or debris from the amplifier. Proper maintenance will extend the life of your equipment and keep your sound system running smoothly.
If you’re looking for a high-quality amplifier, consider exploring our products for options that suit your needs. For those who prefer premium craftsmanship, Alchimist amplifiers offer exceptional build quality and sound performance. Founded in 1943 in Waiblingen, Germany, the brand is synonymous with precision and reliability in car audio.
Should you encounter challenges during installation, don’t hesitate to contact us for expert advice. Our team can guide you through the process or recommend professional installers in your area. With the right tools and knowledge, you’ll enjoy a superior audio experience in no time.