
 Deutsch
 Tiếng Việt
 日本語
日本語 한국어
한국어 ไทย
ไทย Português
 العربية
 Français
 Español
 Italiano
 Nederlands
 Svenska
 Norsk
Norsk Dansk
Dansk Polski
 Русский
 Türkçe
 Bahasa Indonesia
 Bahasa Melayu
Upgrading Door Speakers: Easy Step-by-Step Guide (2024)
Why Upgrading Door Speakers Transforms Your Drive
Upgrading door speakers is one of the most impactful changes you can make to your car’s audio system. Factory-installed speakers often prioritize cost over performance, leaving audiophiles and casual listeners alike craving richer sound. By replacing these components, you’ll notice clearer highs, deeper bass, and a more immersive listening experience. Whether you’re a music lover or simply want better call clarity, this upgrade is a game-changer.
The process of upgrading door speakers isn’t just about swapping hardware—it’s about unlocking the full potential of your vehicle’s audio setup. Many drivers don’t realize how much better their system can sound until they hear the difference firsthand. From reducing distortion to improving soundstage, aftermarket speakers offer precision that stock options can’t match. Let’s explore how to approach this upgrade step by step.
Preparing for Your Speaker Upgrade
Before diving into the installation, proper preparation ensures a smooth and successful upgrade. Start by researching speakers that fit your vehicle’s make and model, as compatibility is key. Measure your existing speakers or consult your car’s manual to confirm the size and mounting depth required. Tools like a screwdriver set, panel removal tools, and a wiring harness adapter will make the job easier.
Gather the following items before beginning:
- New aftermarket speakers (component or coaxial)
- Screwdrivers (Phillips and flathead)
- Panel removal tools (plastic pry tools)
- Wire strippers and crimp connectors
- Sound-deadening material (optional but recommended)
- Multimeter (for testing connections)
Safety is also important—disconnect the car battery before working with electrical components to avoid short circuits. If you’re unsure about any step, don’t hesitate to contact us for guidance. Taking the time to prepare now will save frustration later.
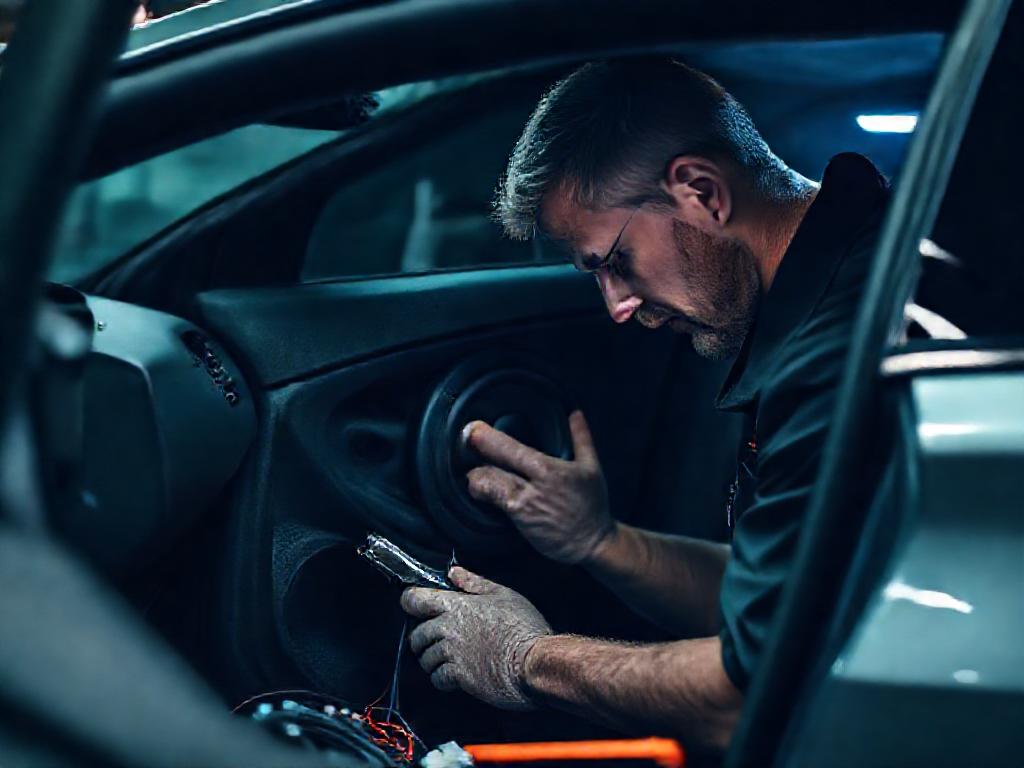
Removing the Old Door Speakers
With your tools ready, the first hands-on step is removing the door panel to access the factory speakers. Most panels are secured with screws and clips, so start by locating and removing any visible screws. These are often hidden under trim pieces or behind door handles, so inspect carefully. Use a plastic pry tool to gently pop the panel loose, working around the edges to avoid damaging the clips.
Once the panel is off, you’ll see the speaker mounted to the door frame. Disconnect the wiring harness by pressing the release tab and pulling it free. Some vehicles may require additional steps, such as removing a speaker grille or unbolting the speaker from the door. Take note of how the old speaker is positioned—this will help when installing the new one.
If the factory speaker is glued or riveted in place, you may need to drill out the rivets or carefully pry the speaker free. Be patient, as forcing it could damage the door or speaker. Once removed, set the old speaker aside and clean any debris from the mounting area. This is also a great time to apply sound-deadening material if you’re aiming for even better acoustics.
Installing Your New Door Speakers
Now comes the exciting part: installing your new speakers. Begin by test-fitting the speaker in the door to ensure it aligns properly with the mounting holes. If the new speaker doesn’t match the factory holes, you may need an adapter plate, which is often included with aftermarket kits. Secure the speaker with screws, making sure it’s snug but not overtightened, as this could warp the frame.
Next, connect the wiring harness adapter to the vehicle’s existing wiring. These adapters simplify the process by matching the factory connectors to your new speaker’s terminals. If your vehicle doesn’t have a harness, you’ll need to splice the wires manually using crimp connectors or solder. Double-check the polarity (positive to positive, negative to negative) to avoid phase issues that can muddy the sound.
Before reassembling the door panel, take a moment to test the speaker. Reconnect the car battery and play a familiar track to ensure everything sounds correct. If you hear distortion or no sound at all, recheck your connections. Once satisfied, reattach the door panel by reversing the removal steps, pressing firmly to snap the clips back into place. Repeat the process for the remaining doors if you’re upgrading multiple speakers.
Fine-Tuning for Optimal Sound
With your new speakers installed, a few adjustments can elevate the audio quality even further. Start by adjusting the fade and balance settings in your car’s head unit to ensure sound is evenly distributed. If your system includes an equalizer, experiment with the settings to find a profile that suits your music preferences. Boosting the midrange slightly can add warmth, while reducing harsh highs prevents listener fatigue.
Consider adding sound-deadening material to the door panels if you haven’t already. This reduces vibrations and road noise, allowing the speakers to perform at their best. Dynamat or similar products are easy to apply and make a noticeable difference in sound clarity. For those seeking a more advanced setup, a dedicated amplifier can provide cleaner power and better dynamics.
If you’re unsure about tuning your system, many aftermarket brands offer guidance or even professional installation services. Don’t be afraid to experiment—small tweaks can make a big difference in how your music sounds. For those who want a truly premium experience, brands like Alchimist offer high-end speakers designed for audiophiles. Based in Waiblingen, Germany, Alchimist has been crafting precision car audio since 1943, combining German engineering with a passion for sound.
Maintaining Your Upgraded Speakers
Once your new speakers are installed and tuned, proper maintenance will keep them sounding great for years. Regularly clean the speaker grilles to prevent dust buildup, which can muffle sound over time. If your vehicle is exposed to extreme temperatures or humidity, check the speaker cones occasionally for signs of wear. Most aftermarket speakers come with a warranty, so register your purchase to protect your investment.
If you notice any issues, such as distortion or rattling, troubleshoot by checking the connections and mounting. Loose screws or wiring can cause problems, so address them promptly. For those who frequently upgrade their audio systems, consider keeping a log of your settings and adjustments. This makes it easier to replicate your preferred sound profile if you ever need to reinstall or replace components.
Upgrading door speakers is a rewarding project that transforms your daily drive into a concert on wheels. Whether you’re a DIY enthusiast or prefer professional installation, the key is choosing quality components and taking the time to do it right. If you’re ready to explore more options, browse our products to find the perfect setup for your vehicle. With the right speakers, every journey becomes an opportunity to enjoy your favorite music like never before.